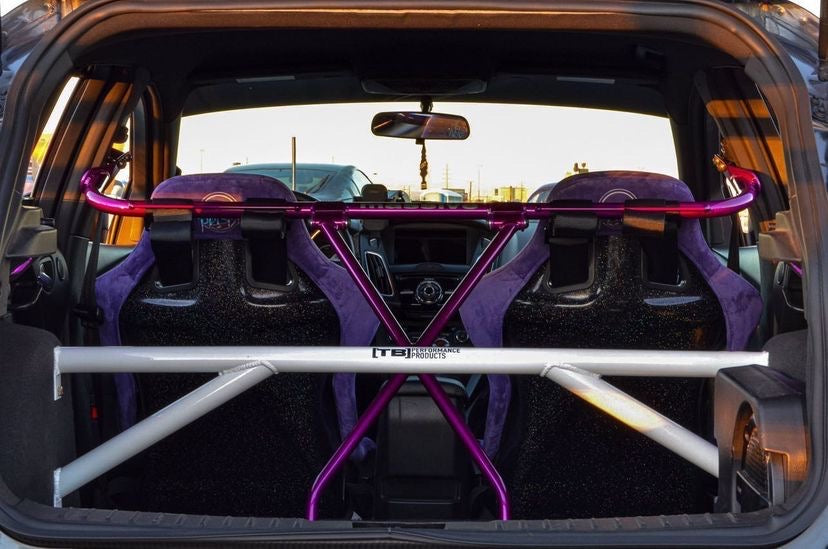

Ford Focus St/Fiesta ST/Focus RS Rear Strut Bar Installation Guide
Congrats on your new TB Performance Products Rear Strut Bar! Besides looking killer, this brace will improve handling and cornering grip by reducing chassis deflection. You made the right call by snagging this beasty! In about 2 hours youre going to be out there slaying tires on your favorite road with some added grip!
Step 1.) Open and clear out your hatch. Remove those old gym shorts and spare shoes and take out that skateboard you have for car meets!
Step 2.) Push on the carpet in the hatch. Youll be able to feel where there is sheet metal and where there isnt. Note these places.
Step 3.) Take your brace and position it in the hatch wherever there is sheet metal behind the carpet.
Step 4.) Using a sharpie mark where the holes on the brace are on the carpet. Youll want these to be accurate because you are using the brace as a template for where you will drill
Step 5.) Remove the brace and drill on your mark.
Option 1.) Use a 25/64” drill bit. Make sure you use the correct size or the threadsert will not grab onto the metal. If you do not know how to use a threadsert tool youtube has some amazing videos on them. Search “threadsert” or “rivnut”
Weve included some spare threadserts for if you make a mistake. If you need more, harbor freight sells them as well as other online vendors.
Option 2.) drill a 1/4” hole on your marks and purchase 4 1/4-20 nuts and 4 fender washers. Bolt the brace in with the supplied bolts. Make sure you use a fender washer on the inside of the wheel well and then the nut so the load is distributed.
Step 5.) If you did option 1 from above bolt the brace into the threadserts using the supplied hardware. Simply snug these bolts down. You can and will overtighten them if you are not careful.
Step 6.) Put all your stuff back in the hatch and close it up.
Step 7.) Time to send the gnar with your badass new brace! Go hit your favorite road and enjoy the added traction and grip!
Notes:
if you need to purchase a threadsert tool, the harbor freight unit is pretty kick ass. Its part number is 58078. Stay away from the cheaper unit. Ive used it and it works but it makes the install harder. Amazon also carries a unit that I assume is the same as the HF unit just rebranded.
If youre worried about drilling holes, there is a is a simple way to cover them up should you remove the brace. All you have to do is rub the carpeting where the hole is and youll never see the holes. The material is so thick and fibrous it will hide the holes and no one will be any wiser!
If you have gutted your hatch, you will need to make some spacers as this brace is designed with the carpet in mind. Cut 1.5” wide strap aluminum(available at home depot or any hardware store) into 3” long pieces and drill a hole on center 3/8” up from the bottom edge. Install that as a shim behind the braces 4 mounts.
Dont use this as a harness bar. We shouldnt need to put this here but we get asked wayyy too often. We care about you guys and dont want you to get hurt. The scene points just arent worth it.
If you have difficulties or questions about installing check out the TB Performance Products Army Facebook group. There are a ton of fellow owners who have installed these. Its a friendly place to ask questions